

Sharing is caring!
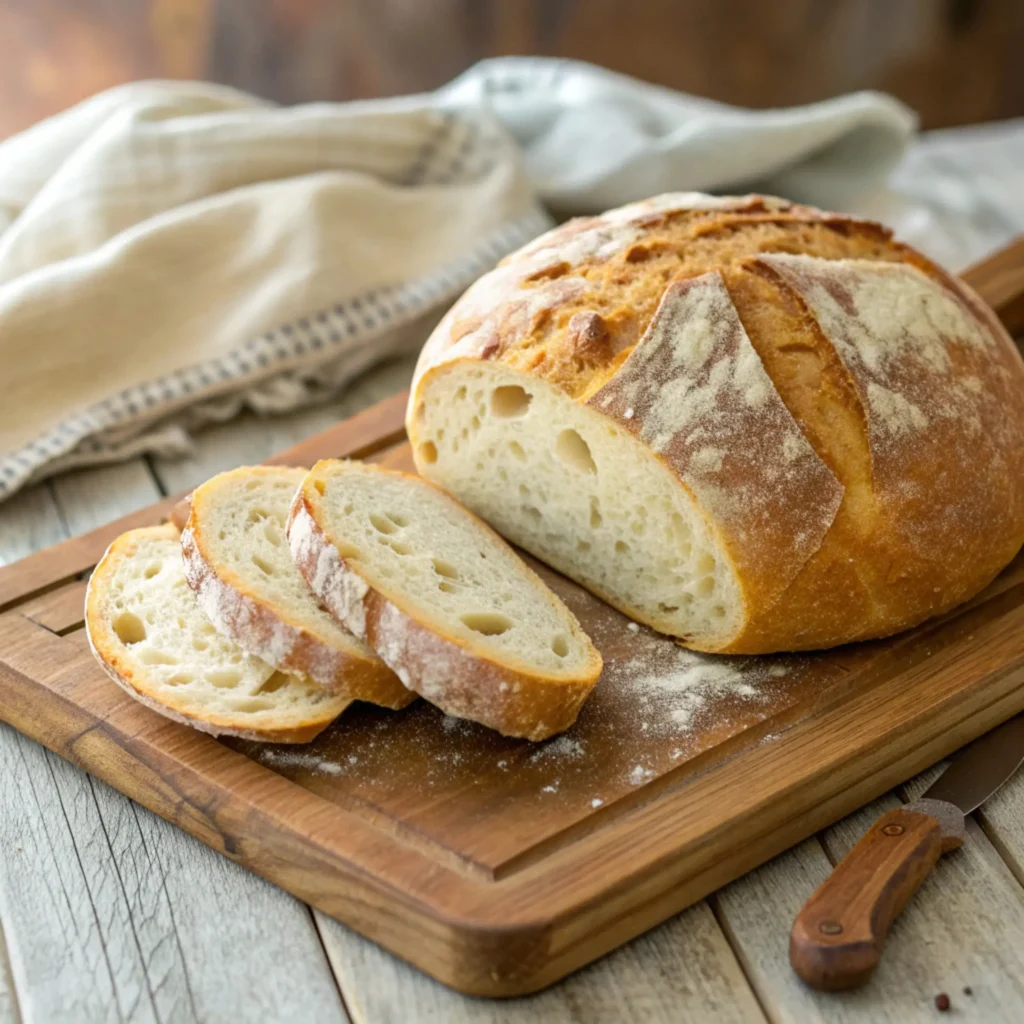
Is there anything more comforting than the crackly crust of a warm loaf of sourdough bread, fresh out of the oven? The way it sings as it cools, the chewy crumb that springs back beneath your fingers, and the slightly tangy scent that hints at days of fermentation—it’s bread magic.
Table of Contents
But if you’ve ever been scared off by the idea of making sourdough, I totally get it. It sounds intimidating, right? All that talk about starters, hydration levels, bulk fermentation, shaping—it’s like a new language. But here’s the thing: you don’t need to be a pro baker to make amazing sourdough at home. You just need some patience, a bit of flour, and a desire to slow down and get your hands messy.
This post will walk you through an easy, foolproof method for baking artisan-style sourdough bread, inspired by the phenomenal guide from Alexandra Cooks. Whether you’re a total beginner or someone who’s dabbled in bread baking, this recipe is for you.
Why Sourdough? 🥖
Before we dive into the step-by-step, let’s talk about why sourdough is so special.
- Naturally Leavened: Unlike bread made with commercial yeast, sourdough rises thanks to wild yeast and bacteria living in your starter.
- Gut-Friendly: The long fermentation makes the bread easier to digest and can even reduce gluten content.
- Flavor Bomb: That slow rise? It develops deep, complex, slightly tangy flavor that you just can’t rush.
Making sourdough is a mix of art and science. It’s about feeling the dough, watching it rise, and tweaking things based on your environment. And once you nail it—wow. It’s addictive in the best way.
What You’ll Need to Get Started 📋
Ingredients:
- 500g (about 4 cups) all-purpose or bread flour
- 1 teaspoon fine sea salt
- 1 tablespoon olive oil (optional)
- 1 cup bubbly, active sourdough starter (about 240g)
- 350g warm water (about 1.5 cups)
Tools:
- Mixing bowl
- Dutch oven (or heavy lidded pot)
- Kitchen scale (highly recommended)
- Bench scraper (optional but helpful)
- Parchment paper
Pro tip: If you’re making your own sourdough starter, give yourself at least 5–7 days. Once it’s bubbly and smells like yogurt or ripe fruit, you’re ready.
Step 1: Mix the Dough
You can mix the dough in the morning or evening, depending on your schedule. No fancy equipment needed—just your hands and a bowl.
- In a large bowl, stir together your flour and salt.
- Add the active starter and warm water, then mix until no dry flour remains. It’ll be shaggy and sticky. Totally normal.
- Drizzle in the olive oil (if using) and mix it in. This adds a touch of softness to the crumb and flavor to the crust.
Cover the bowl with a damp towel or plastic wrap and let it rest for 30 minutes. This short rest is called the autolyse, and it helps the flour absorb water and relax.
Step 2: Stretch and Fold
Instead of kneading, you’ll use a gentle technique called the stretch and fold. This builds strength in the dough without tearing the gluten structure.
Over the next 2 to 3 hours, you’ll perform 3 to 4 sets of folds:
- Grab one edge of the dough and gently stretch it up.
- Fold it over the center.
- Rotate the bowl 90°, and repeat 3 more times.
It’s oddly satisfying—and your dough will become smoother and stronger each time.
Step 3: Bulk Fermentation
Now it’s time to let the dough rise. This is when the wild yeast gets to work, creating bubbles and flavor.
- Cover the bowl and let the dough rise at room temperature until it’s puffy and has grown by about 50%.
- Depending on the temperature of your kitchen, this can take 4 to 8 hours. In the summer, it might be quicker. In winter, longer.
Look for jiggly movement when you shake the bowl and bubbles on the surface. That’s your sign it’s ready.
Step 4: Pre-Shape and Rest
Lightly flour your countertop and gently turn out the dough.
- Shape it into a loose ball by tucking the edges under.
- Let it rest uncovered for 20–30 minutes. This makes the final shaping easier and helps the gluten relax.
Step 5: Final Shaping and Overnight Proofing 🌙
Now you’ll shape the dough into a tight round or oval and place it in a proofing basket (or a bowl lined with a floured towel).
- Lightly flour the surface and your hands.
- Fold the dough like an envelope: top down, sides in, bottom up.
- Flip it over and gently shape it into a taut ball.
- Place it seam-side up in the basket.
Cover and refrigerate overnight. This cold proofing helps develop flavor and makes the dough easier to score and bake.
Step 6: Bake Day 🔥
The next morning, preheat your oven to 450°F (230°C) with your Dutch oven inside. Let it heat for at least 30 minutes.
- Remove your dough from the fridge and carefully flip it onto parchment paper.
- Score the top with a sharp knife or razor. This allows the steam to escape and gives the loaf its iconic look.
- Transfer it to the hot Dutch oven, cover, and bake for 20 minutes.
- Remove the lid and bake for another 25–30 minutes until deep golden brown.
Listen closely when it comes out. You’ll hear it crackling as it cools—that’s called the “sing,” and it’s pure bread bliss.
Tips for Success
1. Don’t Stress About Perfection
Your first loaf might not be Insta-perfect. That’s okay. You’re learning, and even a “rustic” loaf will taste amazing.
2. Use a Kitchen Scale
Measuring by weight is more accurate and consistent. If you’re serious about baking, it’s a game changer.
3. Track Temperature
Your kitchen temp affects rise times. A cooler room = slower fermentation. Warm = faster. You’ll learn to adjust.
4. Use Rice Flour for Dusting
It won’t absorb into the dough as much as wheat flour, preventing sticking in your basket.
Why This Recipe Works for Beginners ❤️
This recipe demystifies sourdough. It skips complex techniques like levain builds and lamination. You’re working with a straightforward dough, letting it ferment at room temperature, then proofing overnight in the fridge. Simple, doable, and crazy delicious.
Plus, you can tweak it:
- Add seeds or herbs to the dough for variety.
- Use whole wheat flour for a heartier loaf.
- Try shaping into a batard (oval) if you’re feeling fancy.
Final Thoughts: There’s Something Magical About Bread-Making ✨
When you bake sourdough, you’re tapping into an ancient craft. You’re slowing down, creating something from scratch, and getting in touch with your senses. It’s more than just baking—it’s therapy, art, and science rolled into one floury, golden loaf.
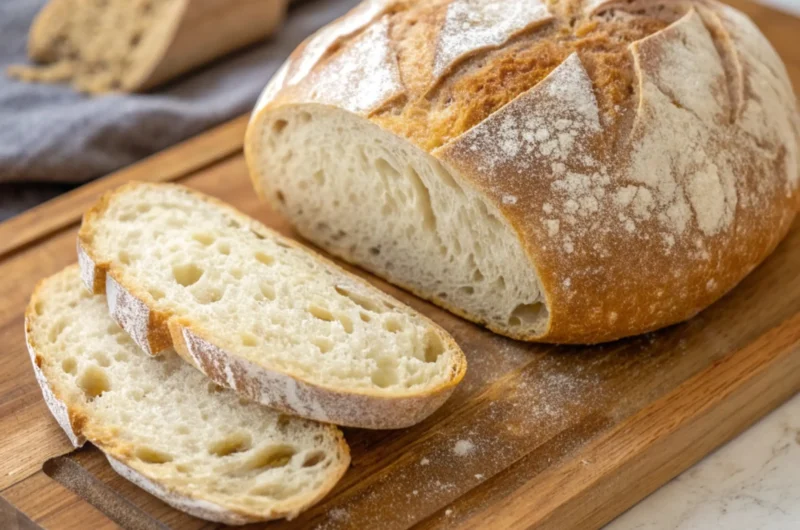
And when you slice into that bread and see the airy holes, taste the mild tang, and feel the crust crack under your knife—you’ll understand why people fall head over heels for sourdough.
So go on, give it a try. Feed your starter, mix your dough, and start your sourdough journey. Your kitchen is about to smell like heaven. And your toast game? Next level.
Tag me when you try this! 🍞
#HomemadeSourdough #BeginnerBaker #BreadIsLife
Sourdough Bread Recipe for Beginners
Course: BreadCuisine: American, EuropeanDifficulty: Medium1
servings15
minutes45
minutes180
kcal1
hourLearn how to make perfect Sourdough Bread at home with this beginner-friendly recipe—crispy crust, soft interior, and simple steps for baking success.
Ingredients
500g bread flour (or all-purpose flour)
375g warm water (about 80°F)
100g active sourdough starter
10g sea salt
Directions
- Mix the Dough: In a large bowl, mix flour, water, and sourdough starter until combined. Cover and let rest (autolyse) for 1 hour.
- Add Salt: Sprinkle in salt and mix with wet hands or a dough scraper until incorporated.
- Bulk Fermentation: Let dough rise at room temperature for 4–6 hours, performing stretch-and-folds every 30–45 minutes (3-4 sets total).
- Shape the Dough: Turn dough onto a floured surface, shape into a round or oval loaf, and place into a floured proofing basket.
- Final Rise: Cover and refrigerate overnight (8–12 hours) for cold fermentation.
- Bake: Preheat oven to 450°F (230°C) with Dutch oven inside. Transfer dough into Dutch oven, score the top, cover, and bake for 20 minutes. Remove lid and bake for another 25 minutes until golden and crisp.
- Cool: Let bread cool completely on a wire rack before slicing.
Notes
- Make sure your starter is bubbly and active before using.
- The cold proofing step adds flavor and improves crust.
- Adjust water slightly depending on flour type.
- Use rice flour for dusting the basket to prevent sticking.









Leave a Reply