Sharing is caring!
Table of Contents
The Apple Cinnamon Cheesecake Crumble Bars That’ll Make You the Star of Every Gathering
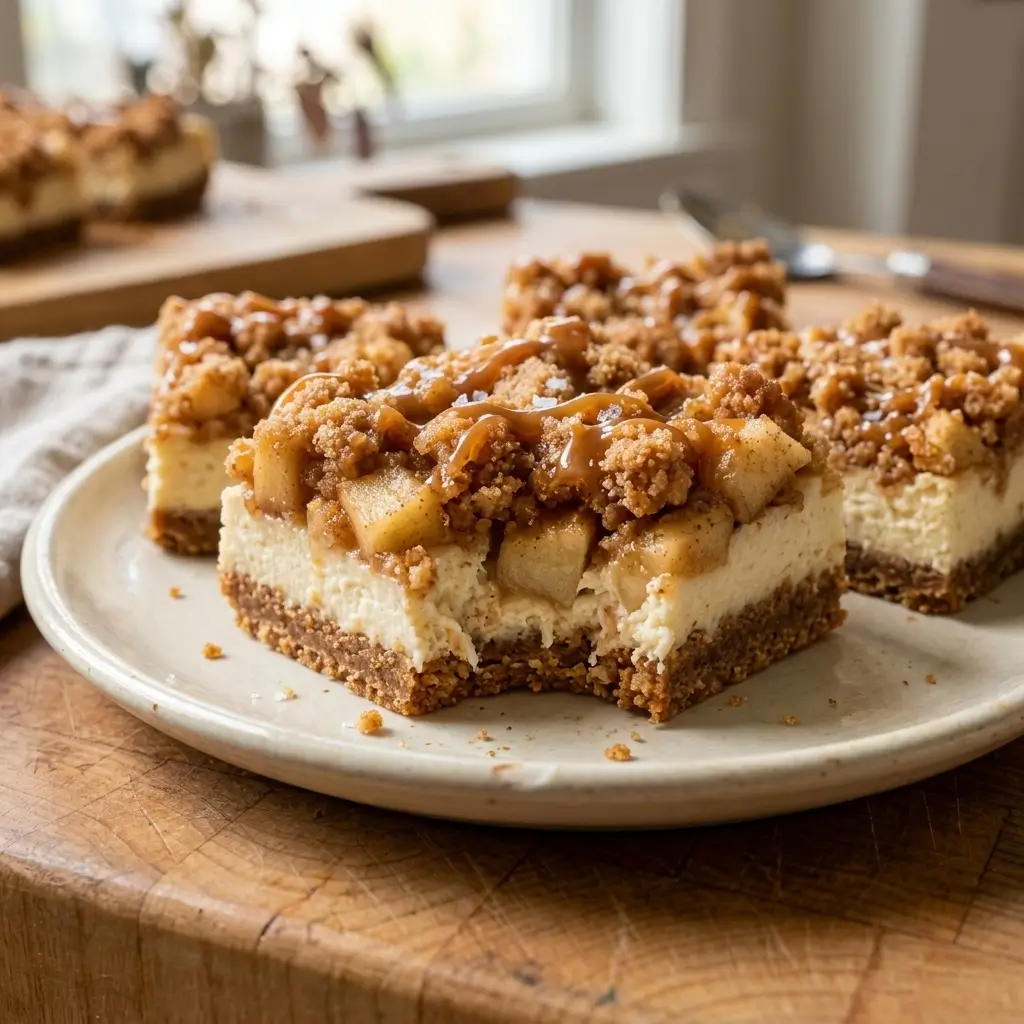
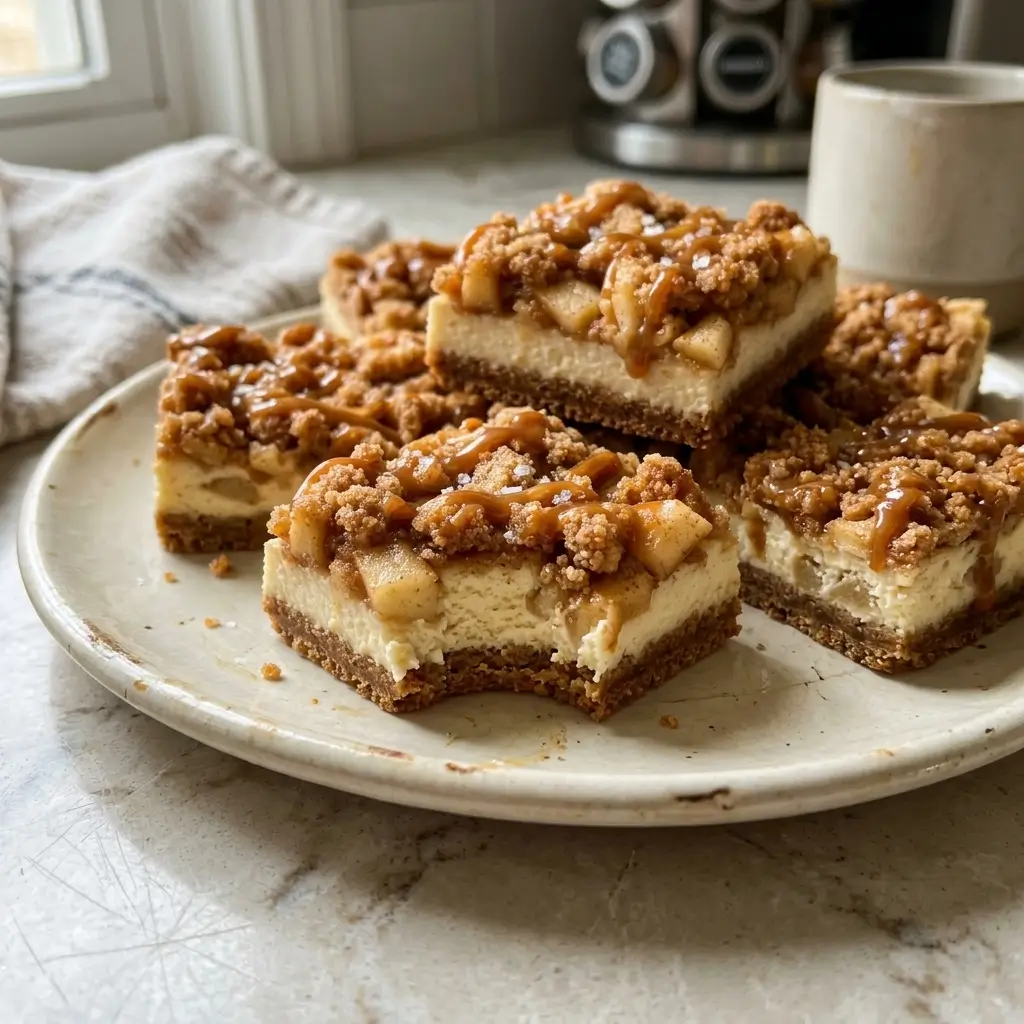
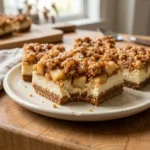
You know that dessert. The one you bring to a party and someone asks for the recipe before they’ve even finished chewing. The one that looks fancy but was secretly easy. The one that has layers—creamy cheesecake, spiced apples, buttery crumble—all in a neat little square you can eat with your hands. These are those bars.
They’re the perfect mashup. The dense creaminess of cheesecake. The warm, spiced comfort of baked apples. The crunch of a streusel topping. And the genius part? One dough does double duty—it’s both the crust and the crumble. Fewer bowls, less cleanup, more time to feel smug about how good they turned out.
I started making these when I wanted something that felt like fall but wasn’t another apple pie. They became my go-to for potlucks, holidays, and anytime I needed a dessert that would make people go “wait, you made these?” They’re rich, they’re beautiful, and they’re surprisingly forgiving.
Why These Bars Work
- One Dough, Two Jobs. The same mixture makes the crust and the crumble. Less work, less cleanup.
- Creamy Cheesecake Layer. Dense, smooth, and tangy—the perfect contrast to the sweet apples.
- Spiced Apple Layer. Tart apples, warm cinnamon, and a hint of nutmeg. Pure fall flavor.
- Make-Ahead Friendly. These bars are actually better on day two.
What You’ll Need
For the Crust and Crumble:
- 1½ cups all-purpose flour
- ½ cup packed brown sugar
- ¼ cup granulated sugar
- ½ teaspoon ground cinnamon
- ¼ teaspoon ground ginger
- ¼ teaspoon ground nutmeg
- ¼ teaspoon salt
- ½ cup unsalted butter, melted
For the Cheesecake Layer:
- 8 oz full-fat cream cheese, room temperature
- ¼ cup sour cream, room temperature
- ¼ cup granulated sugar
- 1 large egg, room temperature
- 1 teaspoon vanilla extract
- Pinch of salt
For the Apple Layer:
- 1 medium Honeycrisp or Granny Smith apple, peeled and diced small
- 1 tablespoon brown sugar
- ½ teaspoon ground cinnamon
Let’s Make It
(The apple cheesecake bars that taste like fall and disappear way too fast)
Step 1: Preheat and Prep
Go ahead and preheat your oven to 325°F (165°C). While it’s warming up, line a 9×9-inch baking pan with parchment paper—and don’t forget to leave some overhang on the sides. That little sling is going to make lifting these bars out later so much easier. Trust me, you’ll thank yourself.
Step 2: Make the Crust and Crumble
In a bowl, stir together the flour, brown sugar, granulated sugar, cinnamon, ginger, nutmeg, and salt. Give it a good mix so all those warm spices are evenly distributed. Then pour in the melted butter and stir until it looks like wet sand—that’s exactly the texture you’re going for. Now, press about half of this mixture firmly into your prepared pan. This is your crust, so pack it in nice and tight. Set the rest aside for the topping—it’s going to become that beautiful crumble later.
Step 3: Make the Cheesecake Layer
In a large bowl, beat the cream cheese, sour cream, and sugar together until it’s smooth and creamy. Scrape down the sides of the bowl to make sure everything gets incorporated. Then add the egg, vanilla, and salt, and beat just until combined. And I mean just—don’t overmix here. Overmixing adds too much air, which can cause cracks. Keep it gentle.
Step 4: Assemble the Base
Pour that beautiful cheesecake batter over your pressed crust and smooth it into an even layer. Take a moment to admire it—it’s already looking good.
Step 5: Add the Apples
Toss the diced apple with the brown sugar and cinnamon until every piece is nicely coated. Scatter them evenly over the cheesecake batter, then press them down gently so they don’t roll around while baking. You want them nestled in, not just sitting on top.
Step 6: Add the Crumble
Now grab that reserved dough and squeeze it in your fists to make ragged clumps of different sizes. Scatter them across the apples—some small crumbs, some big nuggets. That variety is what gives you the best texture. It’s rustic, it’s beautiful, and it tastes incredible.
Step 7: Bake
Pop it in the oven and bake for 35 to 40 minutes. You’ll know it’s ready when the edges are set but the center still has a slight wobble. That little jiggle means it’s going to be creamy and perfect once it cools.
Step 8: Cool Gradually
Here’s a little trick I swear by: turn off the oven, crack the door open, and let the bars cool inside for 30 minutes. This gradual cooling prevents cracks and sinking. It’s the secret to that perfectly smooth top.
Step 9: Chill
Once they’ve cooled down, pop the pan in the fridge for at least 2 hours—or overnight if you can wait that long. I know it’s hard, but cold is what turns that soft, creamy center into clean, sliceable bars. Patience pays off here.
Step 10: Serve
When you’re ready, lift the bars out using the parchment sling and transfer them to a cutting board. Cut into squares with a hot knife—just run it under hot water and wipe it dry between cuts. That’s the trick for clean, beautiful slices every time.
Now go ahead, grab a square, take a bite, and enjoy every creamy, spiced, apple-filled second. You just made fall in bar form. 🍎🍰✨
Apple Cinnamon Cheesecake Crumble Bars
| Prep Time | Bake Time | Chill Time | Total Time | Servings |
|---|---|---|---|---|
| 20 minutes | 40 minutes | 2+ hours | 3+ hours | 12-16 bars |
A Few Things I’ve Learned
- Room-temperature dairy is non-negotiable. Cold cream cheese and eggs will leave lumps. Let them sit out for 45 minutes before starting.
- Drain the apples. If they release liquid after tossing with sugar, drain it. Extra moisture makes the crust soggy.
- The cool-down matters. Turning off the oven and cracking the door prevents cracks. It’s an extra 30 minutes, but it’s worth it.
- Chill overnight if you can. The bars are better on day two. The flavors meld, and the texture becomes even creamier.
Ways to Make Them Your Own
(Because the best recipes are the ones you tweak just for you)
- Pear and Cardamom: Swap out half the apple for diced pear and add a pinch of cardamom. It’s a little twist that feels fancy but takes almost no effort—warm, fragrant, and absolutely lovely.
- Gluten-Free: Use a 1-to-1 gluten-free flour blend and you’re good to go. Just a heads up—the crust will be a little more delicate, so handle it gently. Still delicious, just a touch more tender.
- Caramel Drizzle: Once the bars have cooled, drizzle some caramel sauce over the top. It’s that little extra something that makes everyone go, “Ooh, what’s in this?” Sweet, gooey, and totally irresistible.
- Greek Yogurt Swap: Replace the sour cream with full-fat Greek yogurt. It adds a lovely tang and a little protein boost—plus, it’s a swap you probably already have in the fridge.
- Mixed Apple: Use a mix of Honeycrisp and Granny Smith for the best flavor. The sweet-tart combo is honestly perfection—Honeycrisp brings the sweetness, Granny Smith brings the zip, and together they’re magic.
Now go ahead—pick your twist, make it yours, and enjoy every single bite. That’s the whole point. 🍎✨
Your Cheesecake Bar Questions, Answered
Q: Can I use a different apple variety?
A: Yes. Honeycrisp and Granny Smith are ideal. Braeburn or Pink Lady work too. Avoid Red Delicious or McIntosh—they get mushy.
Q: Do I need a water bath?
A: No. These are thin bars baked at a low temperature. The gradual cool-down keeps them smooth without cracks.
Q: Can I make these gluten-free?
A: Yes. Use a 1-to-1 gluten-free flour blend. Press the crust firmly and handle the cooled bars gently.
Q: How do I keep the crust from getting soggy?
A: Press the crust firmly into the pan. Drain any liquid from the apples before scattering them on the batter.
Q: Can I freeze these bars?
A: Yes. Wrap individual squares in plastic wrap and foil. Freeze up to 2 months. Thaw overnight in the fridge.
You Might Also Like
- Strawberry Cheesecake Dump Cake (So Easy!)
- Giant Reese’s Peanut Butter Cup Pie (No-Bake!)
- The Best Strawberry Cheesecake Cookies Recipe
- Lemon Velvet Cake with Lemon Cream Cheese Frosting
- Easy Banana Cream Pie (No-Bake, Crowd-Pleaser!)
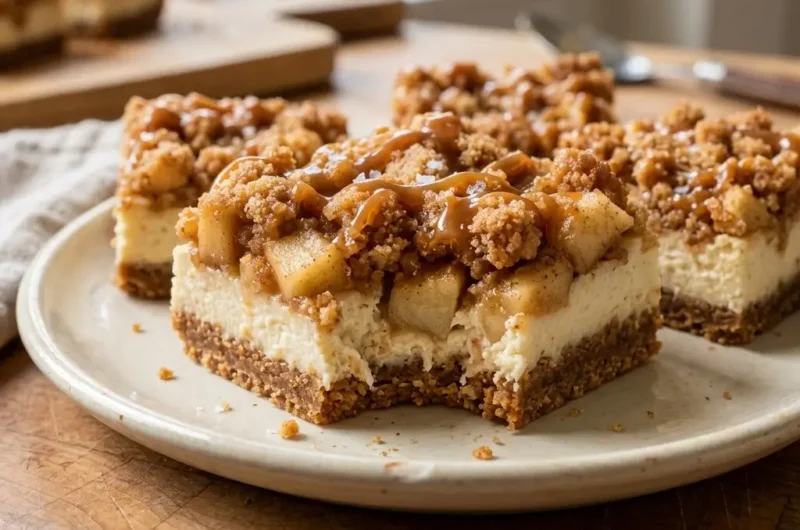
Apple Cinnamon Cheesecake Crumble Bars (Irresistible!)
Course: DessertCuisine: AmericanDifficulty: Medium12
bars20
minutes40
minutes300
kcal4
hours5
hoursApple Cinnamon Cheesecake Crumble Bars are creamy, spiced, and irresistible! One dough makes the crust and crumble. Perfect for fall baking and gatherings.
Ingredients
For the Crust and Crumble:
1½ cups (190g) all-purpose flour
½ cup (100g) packed brown sugar
¼ cup (50g) granulated sugar
½ tsp ground cinnamon
¼ tsp ground ginger
¼ tsp ground nutmeg
¼ tsp salt
½ cup (113g) unsalted butter, melted
For the Cheesecake Layer:
8 oz (225g) full-fat cream cheese, room temperature
¼ cup (60g) sour cream, room temperature
¼ cup (50g) granulated sugar
1 large egg, room temperature
1 tsp vanilla extract
Pinch of salt
For the Apple Layer:
1 medium Honeycrisp or Granny Smith apple, peeled and diced small
1 Tbsp brown sugar
½ tsp ground cinnamon
Directions
- Preheat oven to 325°F (165°C). Line a 9×9-inch pan with parchment paper.
- Mix flour, sugars, spices, and salt. Add melted butter and stir until it looks like wet sand.
- Press half the mixture firmly into the pan. Set the rest aside.
- Beat cream cheese, sour cream, and sugar until smooth. Add egg, vanilla, and salt. Beat just until combined.
- Pour cheesecake batter over the crust.
- Toss diced apple with brown sugar and cinnamon. Scatter over the batter.
- Squeeze the reserved crumble mixture into clumps and scatter over the apples.
- Bake 35–40 minutes until edges are set and center is slightly wobbly.
- Turn off oven, crack the door, and let cool inside 30 minutes.
- Refrigerate at least 2 hours or overnight. Cut into squares and serve.
Notes
- Room-temperature dairy is key. Cold cream cheese and eggs leave lumps that never smooth out.
- Drain the apples. If they release liquid after tossing with sugar, drain it before adding to the bars.
- Don’t skip the cool-down. The gradual cooling prevents cracks and sinking.
- Storage: Keep in the fridge for up to 4 days. Freeze for up to 2 months.


Leave a Reply