
Sharing is caring!
Table of Contents
The Chocolate Fudge That Tastes Like a Snow Day
Do you remember that feeling? Waking up to a world hushed and softened by snow, knowing school was canceled and the day was a blank page of possibility? My grandmother would see us at the window, our breath fogging the glass, and without a word, she’d pull out her heaviest saucepan. “Time for fudge,” she’d say. And just like that, the promise of something sweet and magical filled the house.
That’s what this fudge is to me. It’s not just candy; it’s an alchemist’s trick made simple. It’s the transformation of humble sugar and milk into a silky, rich, chocolate-laden miracle that sets your teeth on edge with sweetness and your heart at ease with comfort. It’s the recipe I make when I need to create a pocket of pure, uncomplicated joy—to wrap up for a neighbor, to leave on the counter for my family, or to simply remind myself that sometimes, the sweetest things are also the simplest.
This is the foolproof, one-pan fudge that never fails. It’s for when you need a little edible magic, and you need it now.
Why This Fudge is a Tiny Miracle
- Foolproof Magic: No candy thermometers, no guesswork. The “boil for five minutes” rule is your golden ticket. It works every single time.
- One Pan, One Spoon: The entire journey happens in one sturdy saucepan. Less washing up means more time for licking the spoon (we all do it).
- Texture of Dreams: The combination of marshmallow creme and chocolate chips gives you a fudge that’s firm enough to hold a square, yet so creamy it practically melts on your tongue before you even chew.
- A Gift From Your Kitchen: Nothing says “I was thinking of you” like a little wax-paper bundle of homemade fudge. It’s a gift of time, care, and sweetness, all in one bite.
Meet Your Ingredients (The Alchemist’s Toolkit)
Simple components that perform a delicious transformation.
- Lay these out on your counter. Seeing them together is the first step in believing you can create this magic.
- 1 ½ cups White Sugar, ⅔ cup Evaporated Milk, ¼ cup Butter & ¼ tsp Salt: The sweet, rich, foundational syrup. The evaporated milk is the quiet hero here—its concentrated richness prevents graininess and guarantees a perfect, creamy set.
- 1 (7 oz) jar Marshmallow Creme: The secret to that legendary, smooth, never-grainy texture. Think of it as your creamy insurance policy for flawless fudge.
- 2 cups Milk Chocolate Chips & 1 cup Semisweet Chocolate Chips: The soul of the operation. The milk chocolate brings that creamy, nostalgic sweetness, while the semisweet chips add a sophisticated depth that keeps it from being too cloying. Together, they’re pure harmony.
- 1 tsp Vanilla Extract: The aromatic high note that makes all the chocolate flavor rise up and sing.
- ½ cup Chopped Nuts (Optional): The delightful, crunchy contrast. Walnuts or pecans are the classic companions, but leave them out if you’re a purist who loves unadulterated chocolate silk.

Let’s Make Magic: The Step-by-Step Spell
Step 1: Prepare Your Canvas
Line an 8-inch square baking pan with foil or parchment paper, leaving some overhang as “handles.” This isn’t just for easy cleanup; it’s your magic trick to lift the entire slab of fudge out perfectly.
Step 2: The Simmering Syrup
In a large, heavy-bottomed saucepan (this is important for even heat), combine the sugar, marshmallow creme, evaporated milk, butter, and salt. Place it over medium heat. Now, stir. And stir. And stir with a wooden spoon until the butter melts, the marshmallow creme dissolves, and the mixture comes to a full, rolling boil.
Step 3: The Patient Bubble
This is the only part that requires your full attention. Once it’s at a full boil, set a timer for 5 minutes. Let it bubble away, stirring constantly to prevent any scorching on the bottom. Don’t stop stirring. This is where the magic happens—the syrup concentrates and reaches just the right stage.
Step 4: The Chocolate Embrace
When the timer beeps, immediately remove the pot from the heat. Pour in all the chocolate chips. Don’t wait! Let them sit for a minute to begin melting from the residual heat, then start stirring. Watch as the molten syrup transforms into a thick, glossy, chocolate lava. Keep stirring until every last chip is melted and the mixture is completely smooth.
Step 5: The Finishing Touches
Stir in the vanilla and the chopped nuts, if you’re using them. You’ll smell the vanilla bloom in the steam—it’s heavenly.
Step 6: Set & Forget
Pour the glorious, shiny mixture into your prepared pan. Smooth the top with your spoon or a small spatula. Now, walk away. Let it cool on the counter for a bit before tucking it into the refrigerator to chill and firm up for at least 2 hours.
Step 7: The Grand Reveal
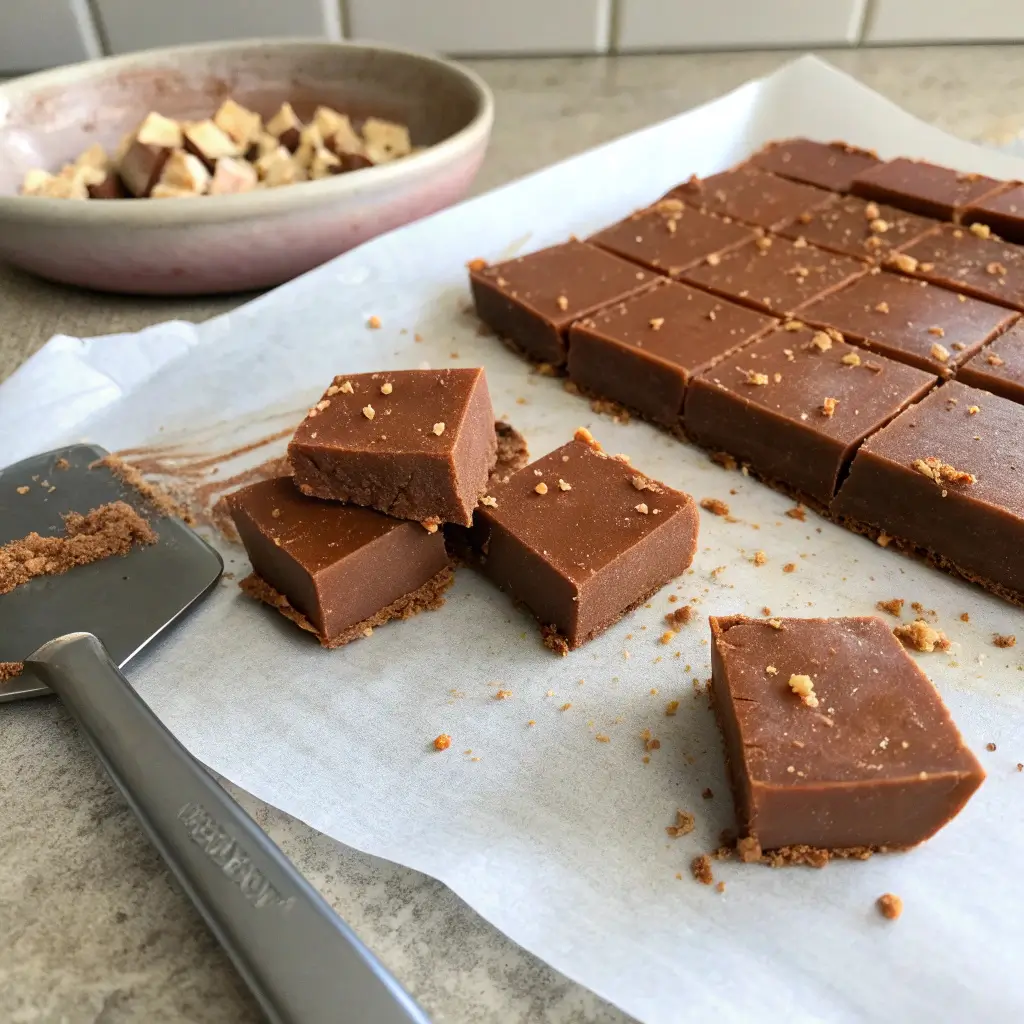
Use the foil or parchment “handles” to lift the entire slab of fudge out of the pan. Place it on a cutting board. With a large, sharp knife, cut it into small squares. This is rich, sweet magic—little squares are perfect.
Creamy Chocolate Fudge
| Prep Time | Cook Time | Chill Time | Total Time | Servings |
|---|---|---|---|---|
| 10 minutes | 5 minutes | 2 hours | 2 hrs 15 min | 48 pieces |
Pro-Tips for Fudge Perfection
- The Right Pot Matters: Use a heavy-bottomed saucepan to distribute heat evenly and prevent hot spots that can cause burning.
- Stir with Purpose: Constant stirring during the boil is non-negotiable. It prevents the sugar from crystallizing and ensures a smooth texture.
- Timing is Everything: Set a timer for the 5-minute boil. This is your fail-safe. Less time, and the fudge may not set; more time, and it can become grainy.
- Chip Quality Counts: Use good-quality chocolate chips for the best flavor. They melt beautifully and have a consistent cocoa butter content.
- For Clean Cuts: For picture-perfect squares, score the top of the fudge lightly with a knife after about 30 minutes of chilling (when it’s partially set). Then finish cutting once it’s fully firm.
Your Fudge Questions, Answered!
Q: My fudge is too soft. What happened?
A: This usually means the syrup didn’t boil long enough. Next time, ensure you have a true, full rolling boil before starting your 5-minute timer. Also, make sure you chill it for the full 2 hours.
Q: Can I use different chocolate?
A: Absolutely! You can use all semisweet for a richer fudge, or all milk chocolate for a sweeter one. Even dark chocolate chips work beautifully.
Q: Why did my fudge turn out grainy?
A: Graininess is usually from sugar crystals forming. This can happen if you stir after the boil starts (just let it bubble), or if sugar crystals splash onto the sides of the pan. A clean, wet pastry brush brushed around the inside of the pot during the initial heating can prevent this.
Q: How do I store homemade fudge?
A: Keep it in an airtight container in the refrigerator for up to 2 weeks. It can also be frozen for up to 3 months. Let it come to room temperature for the best creamy texture before serving.
Q: Can I add other mix-ins?
A: Yes! Swap the nuts for crushed peppermints, mini marshmallows, or even a swirl of peanut butter added at the end.
And just like that, you’ve made magic. You’ve turned sugar and chocolate into little squares of pure, shareable joy. This fudge is a reminder that the sweetest things in life don’t have to be complicated. They just have to be made with a little bit of love and a sturdy wooden spoon.
Now, who deserves a taste of your sweet magic today?
More recipes
- Easy 5-Ingredient Spanish Flan
- Creamy Peanut Butter Balls (Just 4 Ingredients!)
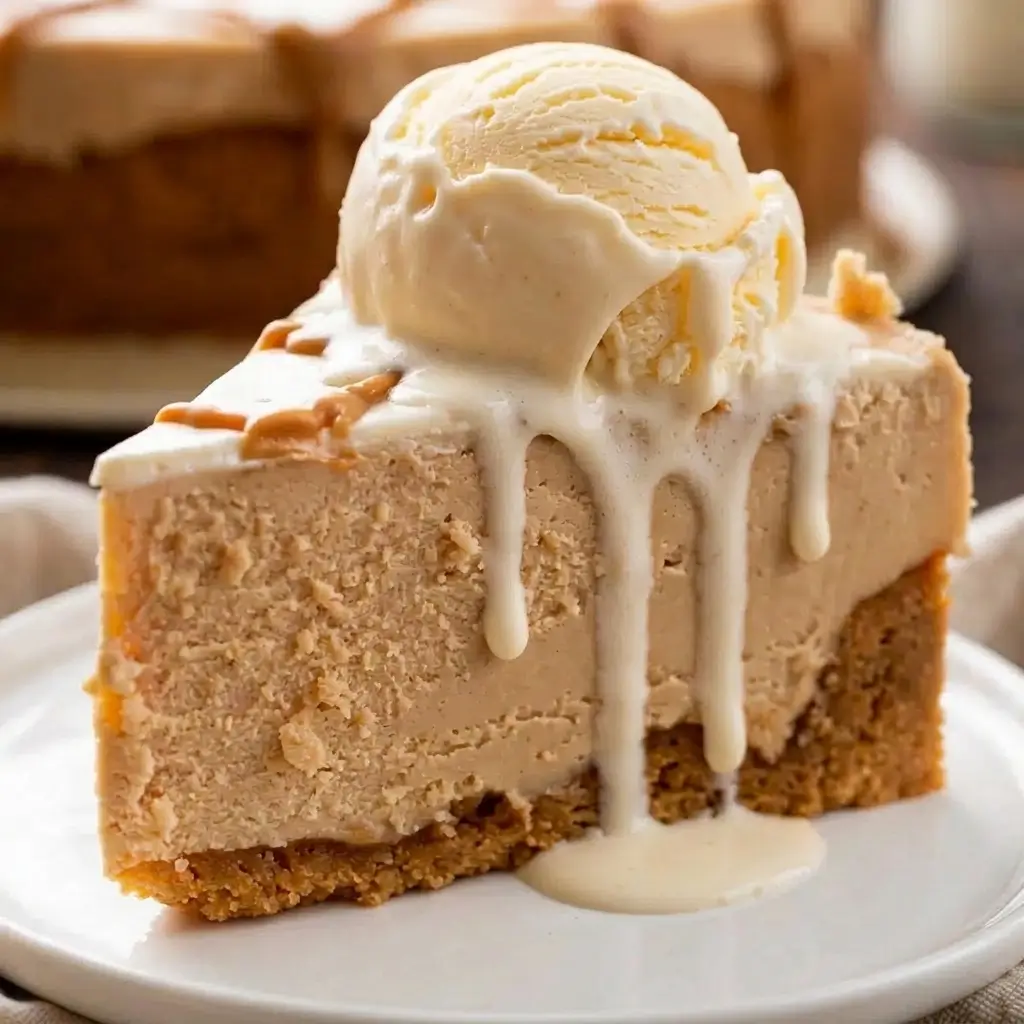
- The Lazy Guide to the Most Amazing No-Bake Cheesecake
- Classic Bread Pudding Recipe (Rich, Cozy & Easy to Make!
Get the printable recipe

The Easiest, Creamiest Chocolate Fudge Recipe
Course: Dessert, CandyCuisine: AmericanDifficulty: Easy48
pieces10
minutes5
minutes124
kcal2
hours124 Calories | 1g Protein | 18g Carbs | 6g Fat
2
hours15
minutesThe BEST easy, creamy chocolate fudge recipe! Made in one pan with marshmallow creme, this foolproof fudge is rich, smooth, and melts in your mouth. Perfect for gifts & holidays. Ready in just over 2 hours!
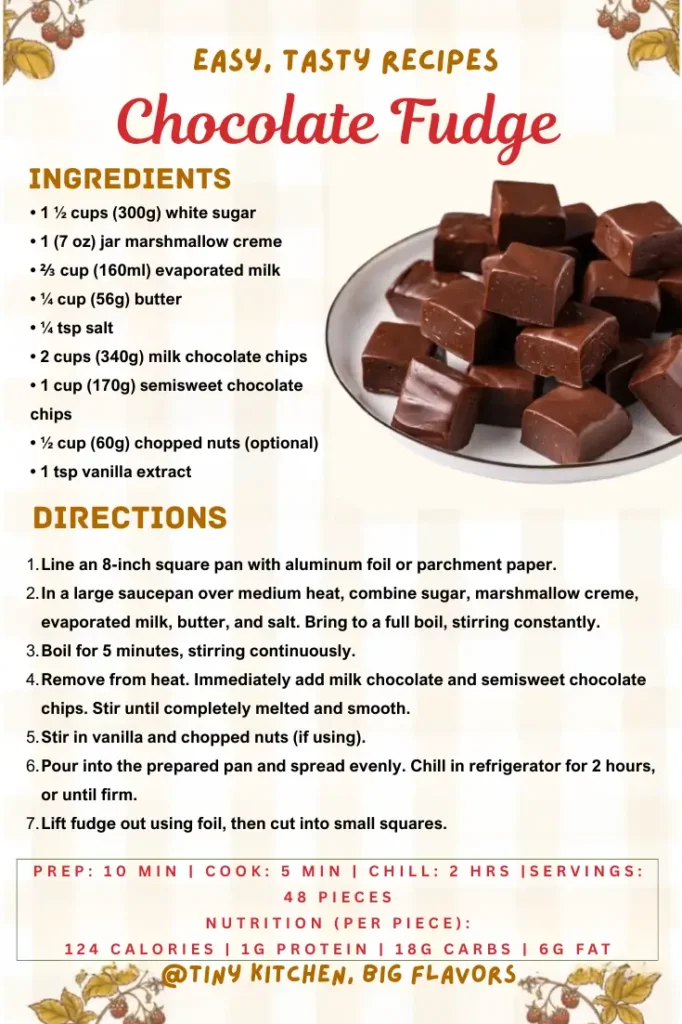
Ingredients
1 ½ cups (300g) granulated white sugar
1 (7 oz / 198g) jar marshmallow creme
⅔ cup (160ml) evaporated milk
¼ cup (56g) unsalted butter
¼ tsp salt
2 cups (340g) milk chocolate chips
1 cup (170g) semisweet chocolate chips
1 tsp vanilla extract (or vanilla powder)
½ cup (60g) chopped walnuts or pecans (optional)
Directions
- Line an 8-inch square pan with foil or parchment paper, leaving overhang on two sides.
- In a large, heavy-bottomed saucepan, combine sugar, marshmallow creme, evaporated milk, butter, and salt. Cook over medium heat, stirring constantly, until mixture comes to a full rolling boil.
- Boil for exactly 5 minutes, stirring continuously.
- Remove from heat and immediately add all chocolate chips. Let stand for 1 minute, then stir until completely melted and smooth.
- Stir in vanilla and nuts (if using).
- Pour into prepared pan and spread evenly. Refrigerate for at least 2 hours, or until firm.
- Use foil to lift fudge from pan. Cut into 1-inch squares.
Notes
- The Right Pot Matters: Use a heavy-bottomed saucepan to distribute heat evenly and prevent hot spots that can cause burning.
- Stir with Purpose: Constant stirring during the boil is non-negotiable. It prevents the sugar from crystallizing and ensures a smooth texture.
- Timing is Everything: Set a timer for the 5-minute boil. This is your fail-safe. Less time, and the fudge may not set; more time, and it can become grainy.
- Chip Quality Counts: Use good-quality chocolate chips for the best flavor. They melt beautifully and have a consistent cocoa butter content.
- For Clean Cuts: For picture-perfect squares, score the top of the fudge lightly with a knife after about 30 minutes of chilling (when it’s partially set). Then finish cutting once it’s fully firm.





Leave a Reply